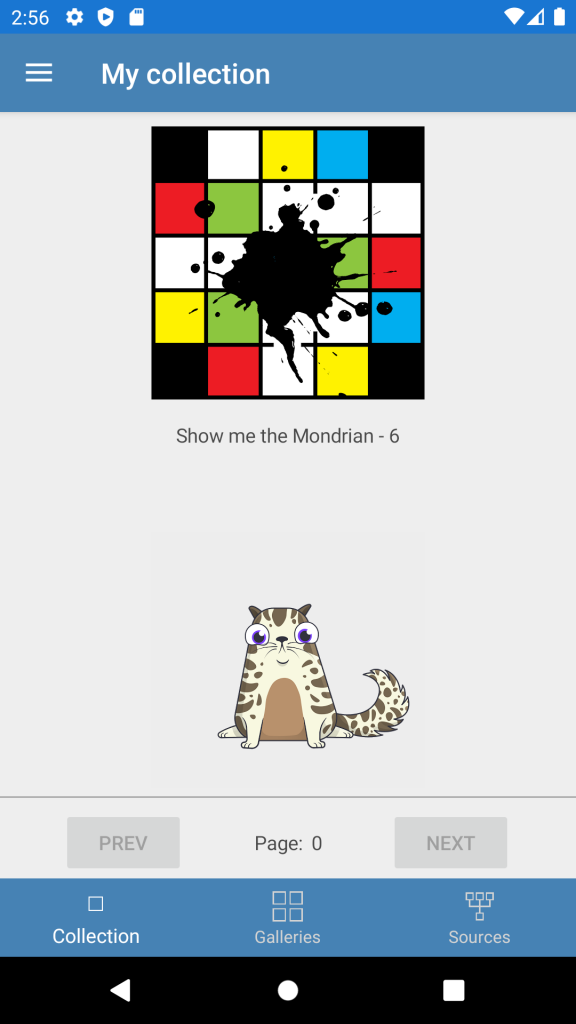
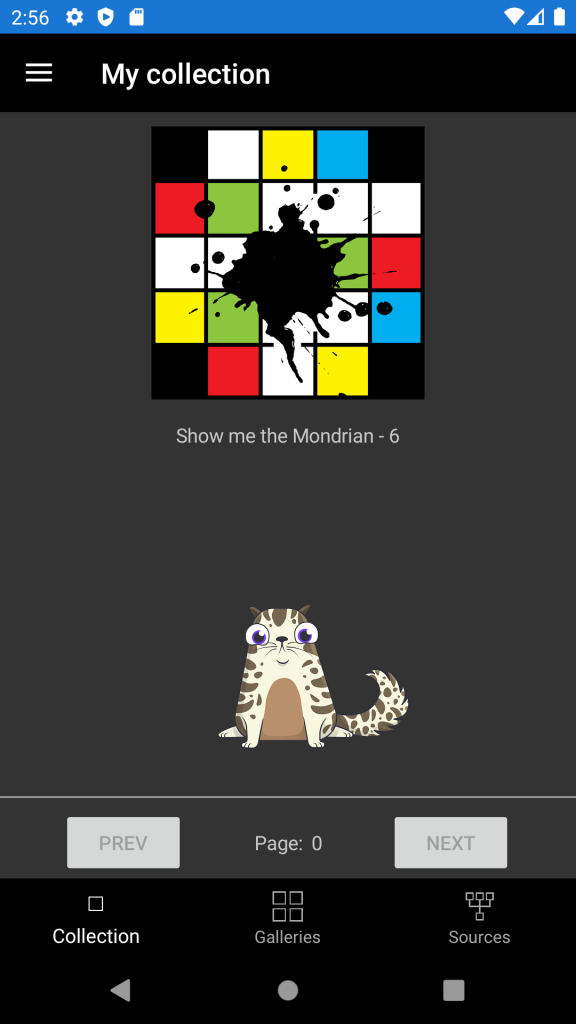
This week I have mostly been trying to get Dark Mode working with one of my Xamarin Forms Shell apps. This is the new feature available on most mobile OSs where the screen goes white on black (rather then black on white) to reduce glare at night. There is no “out the box” solution but after much googling and a bit of fiddling I found something that works.
There were three main changes I had to make to get it working.
- Modify the Shell part of the app.
- Modify the content of the various ContentPages.
- Modify the splash screen.
Starting with points 1 & 2, I referred to these two posts for their approach. Read them but bear in mind I had the following issues. The general idea is that you have two resource dictionaries, one for the light screen and one for the dark screen. The elements have the same names so you can swap them over at run time and it applies the new colours to the existing controls.
Shell & ContentPages
I am quite new to using StaticResources. Hot Reload is great as you can edit the XAML and see it update on the device. This light/dark approach means that the resources are compiled and switched at runtime. This means Hot Reload doesn’t work as the XAML doesn’t have a direct “live” link to the app. This just means you have to get it all looking nice with the XAML as part of the app or page and then copy it to the light/dark ResourceDictionary when you have finished. You might also want to separate out and DataTemplates into another ResourceDictionary that uses the other two.
I also found that this process didn’t work for the Shell objects themselves. by that I mean the UI that presents itself when the app starts up. Navigation bars and Tab bars, but not modal pages. In these cases I defined the Shell colours like this.
<Shell xmlns="http://xamarin.com/schemas/2014/forms"
        xmlns:x="http://schemas.microsoft.com/winfx/2009/xaml"
        xmlns:views="clr-namespace:GalleryApp.Views"
        BackgroundColor="{AppThemeBinding Light=SteelBlue, Dark=Black}"
        ForegroundColor="{AppThemeBinding Light=White, Dark=White}"
        TitleColor="{AppThemeBinding Light=White, Dark=White}"
        DisabledColor="{AppThemeBinding Light=Green, Dark=Green}"
        UnselectedColor="{AppThemeBinding Light=LightGray, Dark=DarkGray}"
        FlyoutBackgroundColor="{AppThemeBinding Light=White, Dark={OnPlatform Gray, iOS=Gray, Android=LightGray, UWP=Gray}}"
        x:Class="GalleryApp.AppShell">
While in the content pages definitions it was used as
<Style TargetType="NavigationPage">
    <Setter Property="BarBackgroundColor" Value="{StaticResource NavigationPrimary}" />
    <Setter Property="BarTextColor" Value="White" />
    <Setter Property="BackgroundColor" Value="{StaticResource BackgroundColor}" />
</Style>
Also occasionally I needed a DynamicResource instead of a static one. Half a template would update and half wouldn’t. Also it pays to check ALL of your screens work.
Splash Screens
These aren’t essential but are nice to have. Especially if your existing splash screen is light and bright. For this I mainly used this blog post as a reference. It explains everything you need to know , but as I had done a splashscreen before this was fairly familiar. The only thing I had trouble with was editing the iOS storyboard. I ended up adding the ViewController in XCode rather than in Visual Studio.